
Home › Applications › Silicone for Candle Molds
Silicone Rubber for Candle Mold Making
Make custom silicone candle molds for pillars, detailed shapes and repeat wax casting. Compare two-part RTV-2 tin-cure and translucent platinum silicones in Shore A 10–20, starting with the shape you need to release and the support your mold needs.
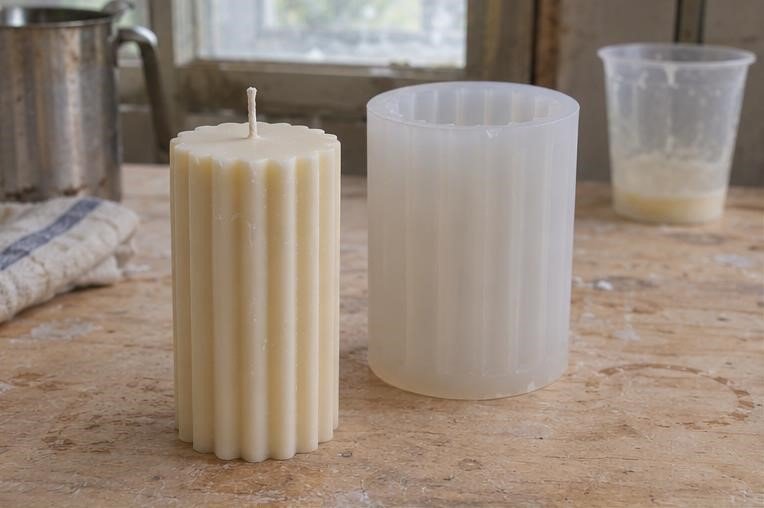
Peel the mold away from ribs and undercuts.
Keep tall profiles straight during the wax pour.
Check finish and mold wear across trial pours.
Where Candle Molds Cause Rework
Check whether the issue starts in the silicone mold or appears later during wax pouring, cooling or demolding.
Wax Details Break on Release
Thin ribs and deep undercuts can catch as you pull the candle out. Trial a softer grade, a peel-away release and, where needed, a planned split line.
Tall Candles Lose Their Shape
A thin, soft mold wall can bow. Compare a grade toward Shore A 20, increase wall support or test a rigid outer sleeve.
Pinholes or Rough Wax Surfaces
Check the cured cavity first. Defects that repeat in the same spot can point to the master or mold. Review wax temperature and cooling if the cavity is sound.
The Mold Tears at a Slit
Inspect sharp corners, thin rubber sections and wick exits. Compare grade-specific tear data and watch how the cut opens over repeated releases.
Silicone Stays Tacky at the Master
Check ratio, mixing and cure conditions. For platinum silicone, run a small contact-cure test on the exact print, clay, coating or sealer.
Seams Leak or Leave Wax Flash
Check alignment and support on split molds. Seal the wick exit as needed and inspect the seam after the first wax pour.
Silicone Molds for Pillar and Sculptural Candles
Start with how the wax part comes out of the mold, then check how the mold holds its shape while you pour.
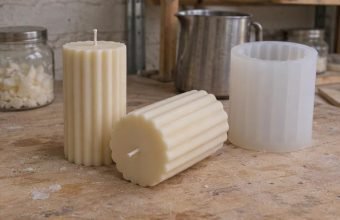
Fluted & Pillar Candle Molds
For tall or simple profiles, compare a firmer grade within the range and test wall support. Check wick alignment, rib definition and straightness on the first pour.
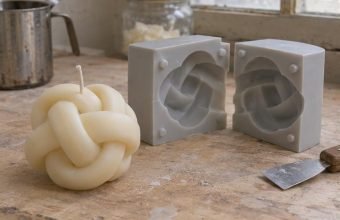
Sculptural & 3D Candle Molds
For knots, figurines and deep relief, compare softer grades and plan how the mold will open. A split mold may help release shapes that lock into a one-piece cavity.
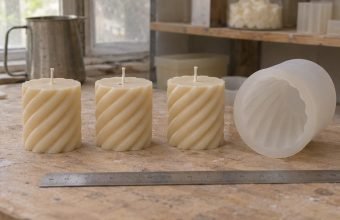
Repeat Wax Casting
Use your production wax and pour conditions. Compare successive casts for seam flash, surface marks and shape consistency, then inspect the mold around the wick exit and thin sections.
Tin-Cure or Translucent Platinum Silicone?
Shore A 10–20 is the typical starting range for these candle molds. Compare hardness together with tear strength, wall thickness and mold design.
TCS General Tin-Cure Silicone
An economical starting point for standard pillars, decorative candles and routine wax casting. Select a grade within Shore A 10–20 and confirm the catalyst ratio and shrinkage on the current technical data sheet (TDS).
Translucent Platinum Silicone
Consider ACS10, ACS15 or ACS20 when low shrinkage and visibility around the master are priorities. These grades mix 1:1 by weight. Run a contact-cure test with the actual master and any coatings.
How to Make a Silicone Candle Mold
Run one trial with your real master and wax. The first pours help you decide whether to change the grade, add support or adjust the mold design.
Fix the master inside a sealed mold box. Plan wall thickness, the split line if needed and how the wick will pass through.
Follow the grade TDS for the ratio, working time and cure. Pour steadily into a low corner and let the silicone rise around the master.
Remove the master after cure, fit and center the wick, and seal its exit if needed. Support the mold and pour at the temperature recommended for your wax.
Let the wax cool before peeling the mold away. Compare detail, straightness and seam marks. Inspect thin rubber sections for wear before scaling.
Questions Before Your First Wax Pour
Answers for buyers selecting silicone rubber for candle molds.
Two-part RTV-2 silicone rubber in Shore A 10–20 is a practical starting point. Choose by undercuts, mold size, wall thickness, wax pouring conditions and expected reuse.
Start near A10 for easier peel release, A15 for a balance, or A20 when the mold needs more support. Confirm with your actual master and wax before ordering in bulk.
You can evaluate a cured silicone mold with any of these wax types. Use a wax blend suited to freestanding candles, check the grade’s service limits and test at your actual pour temperature.
Many wax casts release from cured silicone without one. Test your exact wax and cavity. Sealing or release treatment for the master during mold making is a separate decision.
Some printed materials or residues can inhibit platinum silicone cure. Check ratio and mixing, prepare the print according to the resin instructions, and run a small contact-cure test.
Mold life varies with the grade, wax temperature, wall thickness, undercuts and handling. Run successive pours and inspect the cavity and slit before estimating production life.
Send a master photo or drawing, mold dimensions, wax type and pour temperature, any undercuts, and your target batch size. Ask for the current TDS for the proposed grade.
Send Us Your Candle Mold Project
Share your master, wax and mold dimensions. CREKEM can help you choose a starting grade and confirm the TDS and sample options for your trial.
What to Include
- Master photo or drawing and master material
- Cavity dimensions, thin details and undercuts
- Wax type and actual pour temperature
- Trial quantity and expected production volume